How to Change Your Facebook Page Name
I always get confused when trying to change the name of a Facebook Page—it’s not as straightforward as it should be, and I often forget where to find the option. If you’re like me and struggle to locate this setting, you’re not alone! That’s why I’ve documented the exact steps here to make it easier next time.
To change the name of your Facebook Page, follow these steps:
On Desktop (Web Browser)
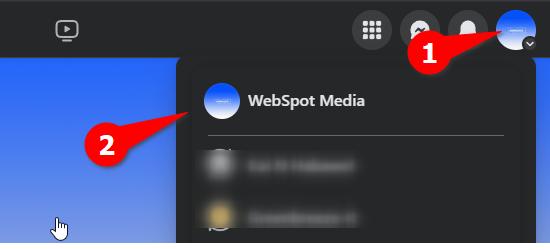
Go to your Facebook Page and navigate to the page you manage.
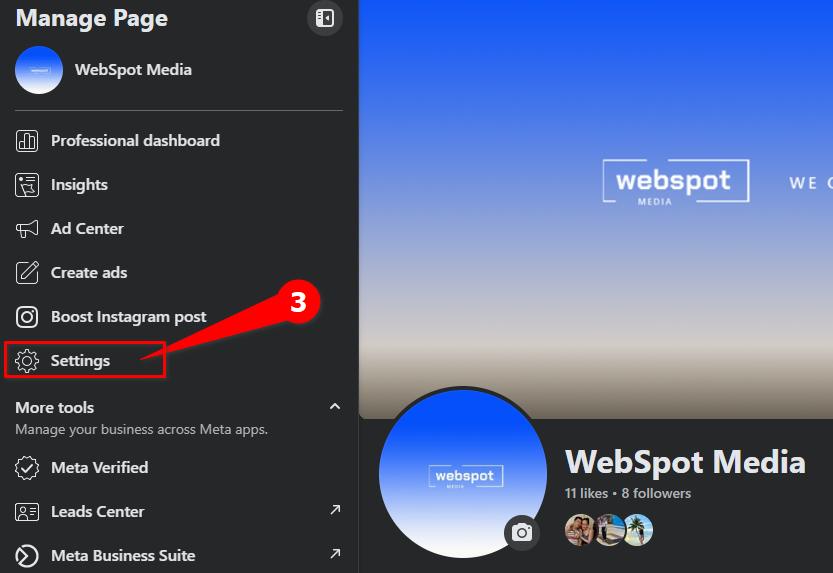
Click “Settings” from the left sidebar menu.
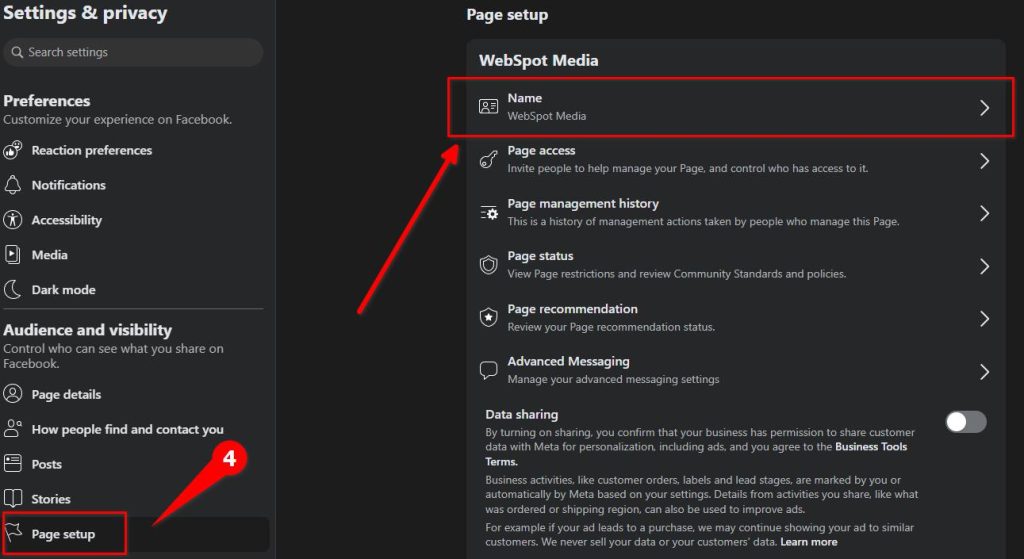
Click “Page Setup,” then find the “Name” section and click to open it.
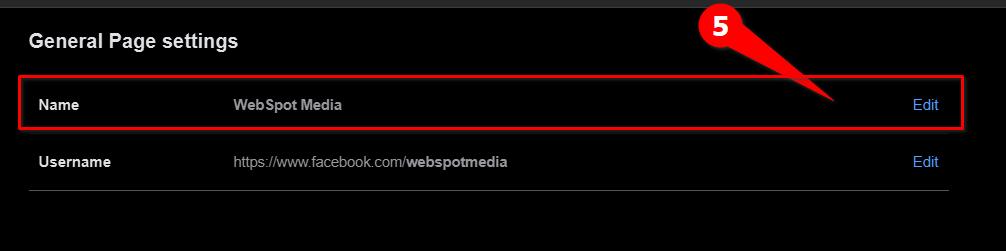
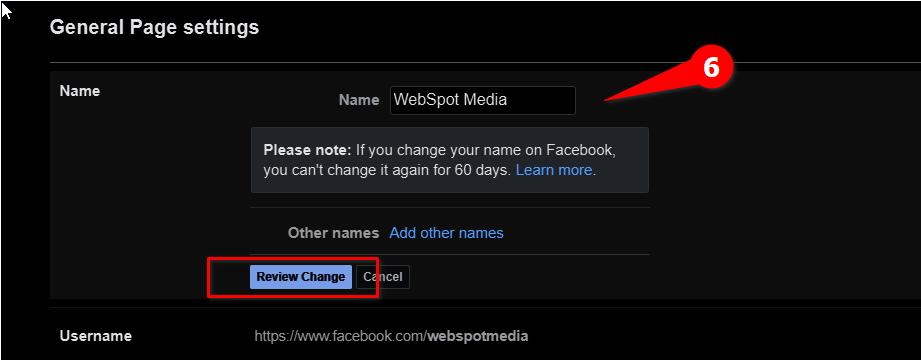
Edit your Page name by clicking the Name field or click on Edit.
Enter your new FB page name and hit Review Change
Confirm the name change request by entering your Facebook password, then click “Request Change.”
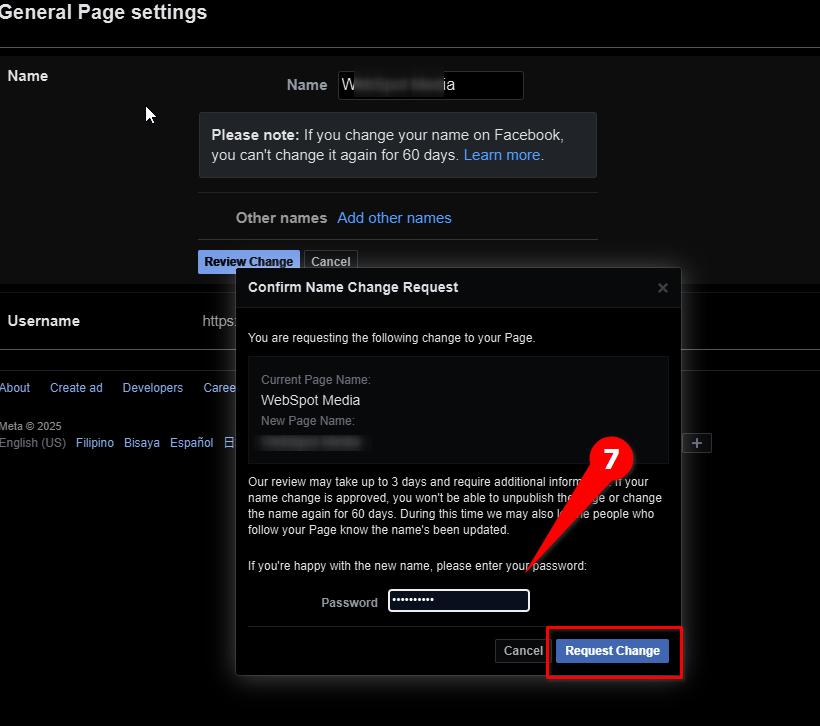
The review process can take up to 3 days and may require additional information. If your name change is approved, you won’t be able to unpublish the Page or request another name change for the next 60 days. Facebook may also notify your followers that the Page name has been updated.
Leave a Reply