How to install How to Install LAMP Stack on Ubuntu (Simple Guide)
If you’re looking to set up a web server on your Ubuntu machine, installing a LAMP stack is a great place to start. LAMP stands for Linux, Apache, MySQL, and PHP, a popular combination for hosting websites and web applications. In this guide, we’ll walk you through each step to get your LAMP stack up and running quickly and easily.
1. let’s install Apache2
First let’s install the Apache web server and a set of useful Apache-related tools on a Debian-based Linux system (like Ubuntu). In your Ubuntu Terminal, enter the following:
sudo apt update && sudo apt upgrade -yThis command updates your system’s list of available updates, and then installs them. After this, type the following:

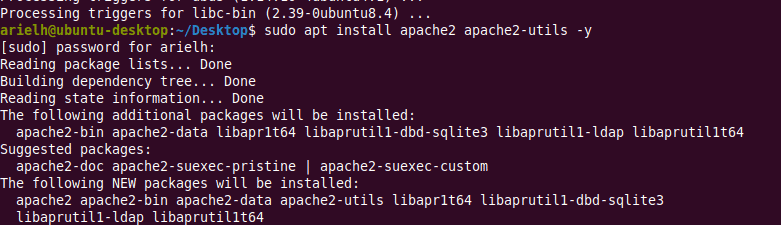
sudo apt install apache2 apache2-utils -yThis installs the Apache2 web server (apache2) and its utility tools (apache2-utils) on an Ubuntu system. The -y flag automatically answers “yes” to any prompts, so the installation proceeds without asking for confirmation.
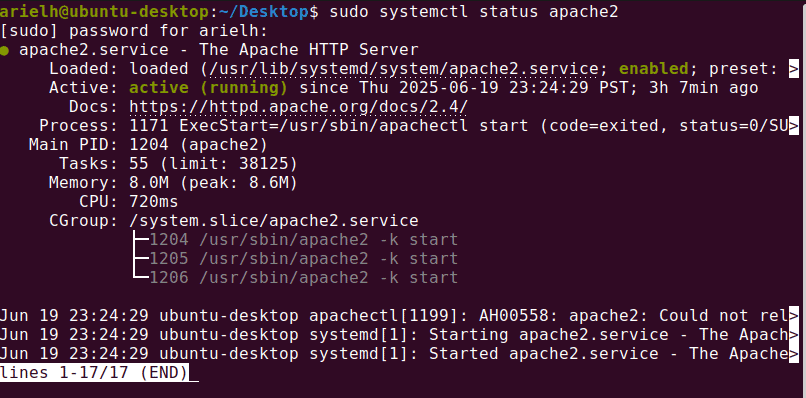
sudo systemctl status apache2After the installation, this command displays the current status of the Apache2 service which is now active.
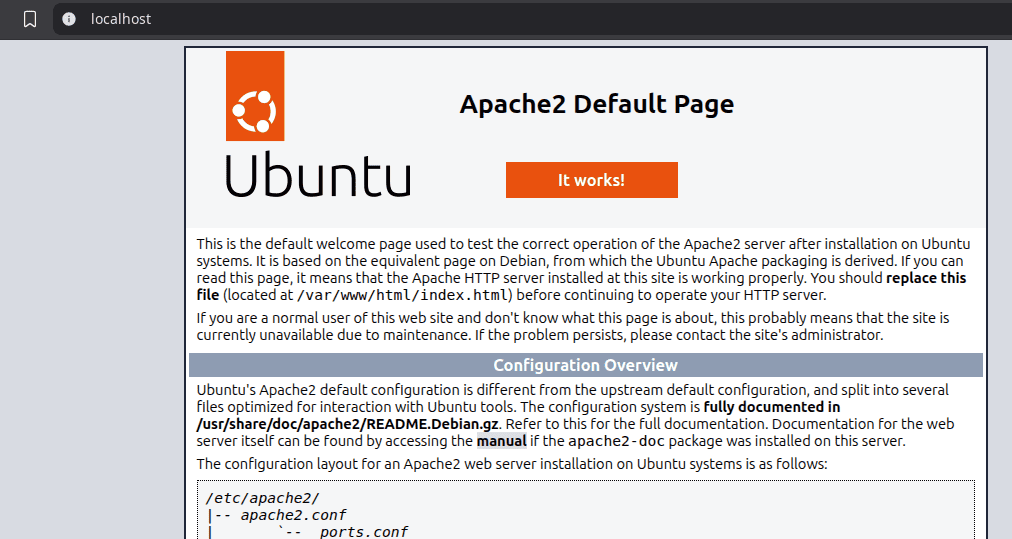
To test, go to your browser and enter http://localhost
2. Next, let’s install MariaDB
MariaDB is an open‑source relational database that WordPress uses to store and organize its data — like posts, pages, settings, and user information. It works with PHP to save and retrieve this data, making it essential for WordPress to build and display websites. Without MariaDB, WordPress wouldn’t be able to remember or manage any site content.
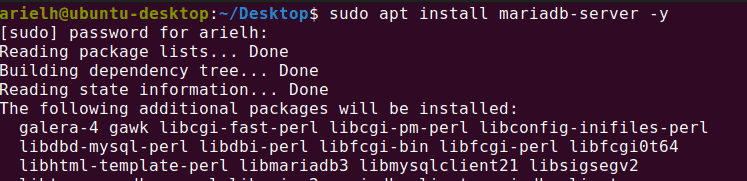
sudo apt install mariadb-server -yThis command installs the MariaDB server on a Debian‑based system (like Ubuntu) and automatically confirms the installation (-y), so you don’t have to approve it manually.
To check if it’s successfully installed use this command:
sudo systemctl status mariadb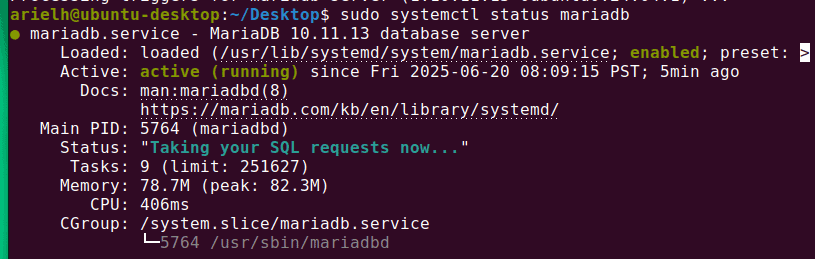
And lastly, let’s make sure that it runs after a reboot by using this command:
sudo systemctl enable mariadb
4. Now, let’s install PHP Version 8.3
PHP is a server‑side programming language that powers WordPress and many other websites. It’s the language that handles WordPress’s core logic — connecting to databases, generating pages, and managing themes and plugins. Without PHP, WordPress wouldn’t be able to run, making it a vital part of how websites work and deliver dynamic content.
Since we will be using WordPress on this server, we’ll need the core PHP 8.3 package plus a few common extensions it uses. Here’s a typical list:
- php8.3 (core)
- php8.3-cli (command-line support)
- php8.3-fpm (PHP process manager for web servers)
- php8.3-mysql (database connectivity)
- php8.3-xml (parsing XML)
- php8.3-mbstring (string handling)
- php8.3-curl (API requests)
- php8.3-zip (unzipping plugin/theme files)
- php8.3-gd (image processing)
- php8.3-intl (internationalization)
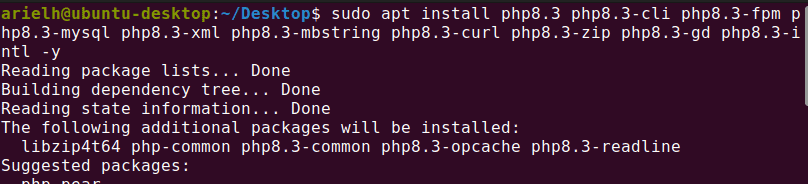
To install all these extensions in one big command, use the following:
sudo apt install php8.3 php8.3-cli php8.3-fpm php8.3-mysql php8.3-xml php8.3-mbstring php8.3-curl php8.3-zip php8.3-gd php8.3-intl -yThese cover almost all of WordPress’s requirements, and since we will be using Brizy Pagebuilder, the Zip and GD extensions are important.
To check the status, use the following command:
sudo systemctl status php8.3-fpmTo ensure that it starts automatically after a reboot, use this command:
sudo systemctl enable php8.3-fpm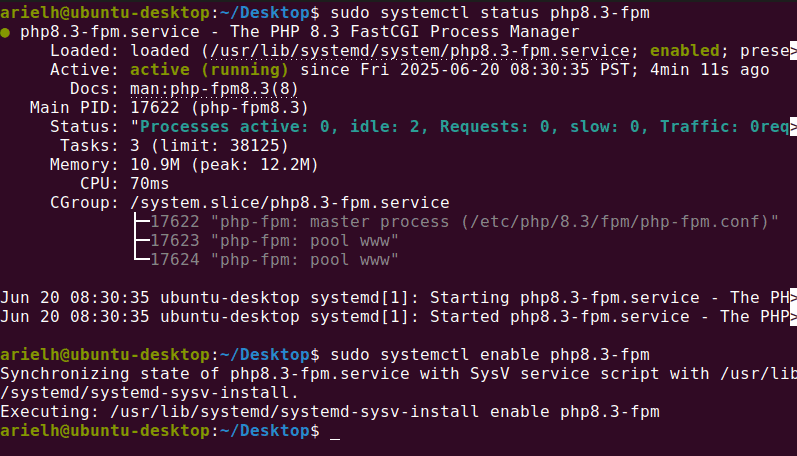
Setting up a LAMP stack (Linux, Apache, MariaDB, and PHP) on Ubuntu is the first step to creating a local environment for WordPress. By installing Apache as the web server, MariaDB as the database, and PHP with its essential extensions, you build the foundation for any WordPress site. Once the LAMP stack is configured, you can install WordPress, connect it to the database, and start building and customizing your site right on your own computer, a perfect way to learn, test, and develop before going live.
Leave a Reply